Tag Archives: winging it

Making Progress

3 May


My friend Kay has been away all week, and I brought the Country Cottage over here to work on it, so I’d have everything in one place. Well, if you consider the picnic table, the kitchen counter, the dining room table and the work bench in the back room “all in one place”…

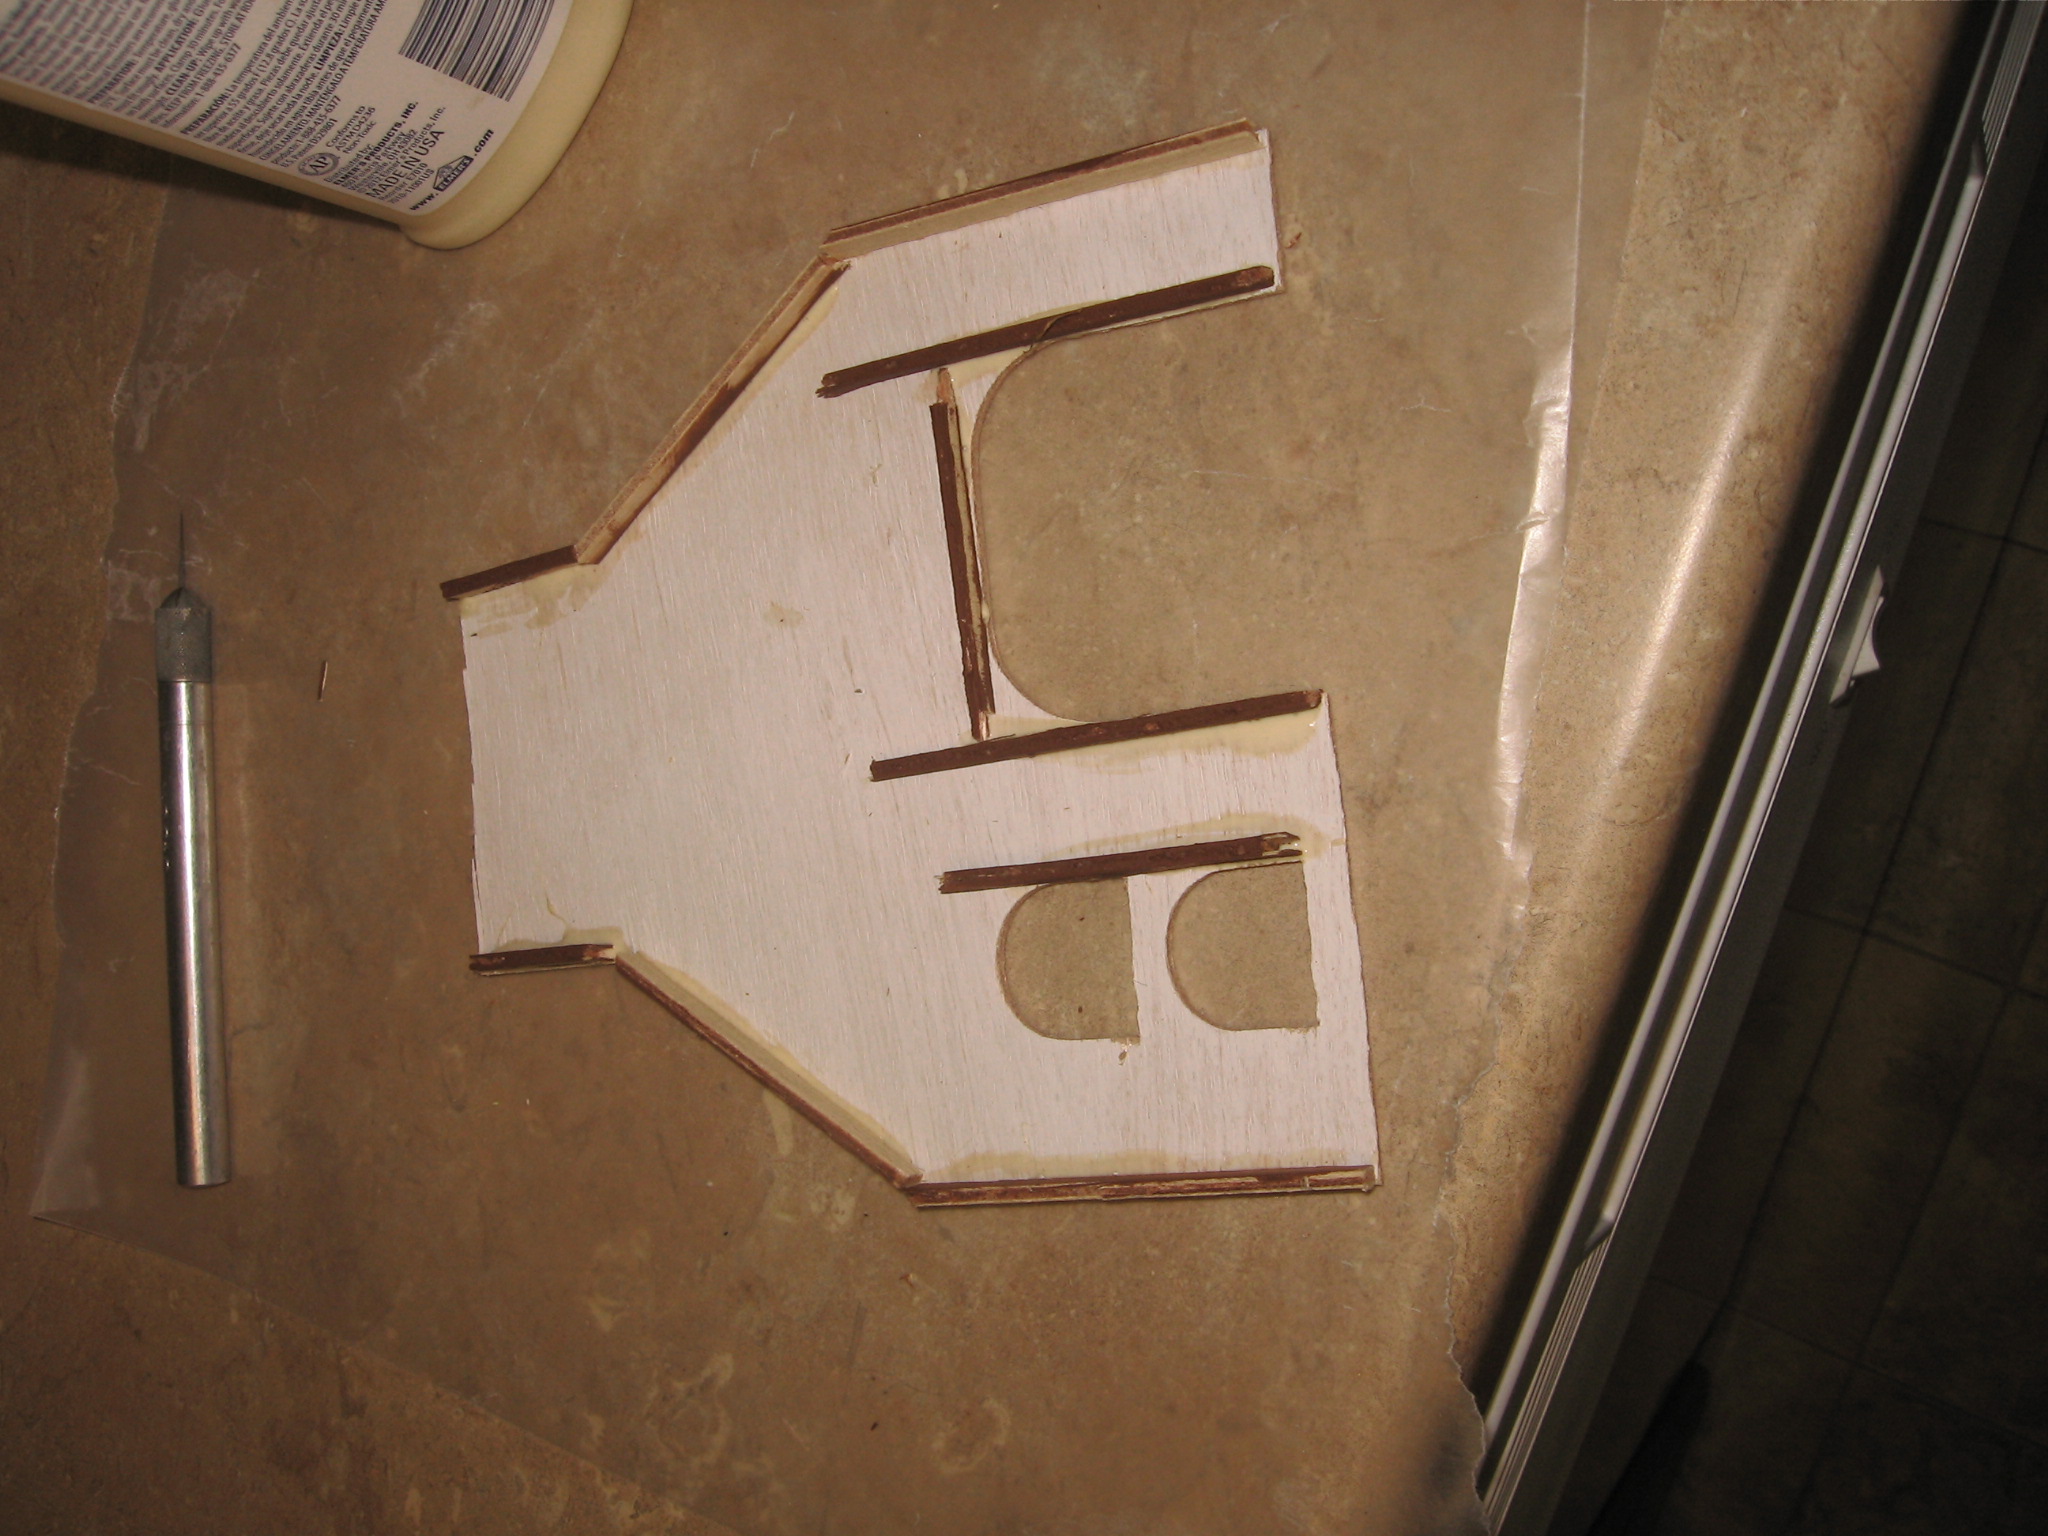
I got all three walls up, and the doors framed on the outside. The Squire bought some textured paint to re-do the guest room and TV room, and I used that to “stucco” the exterior of the cottage, although it will definitely need some touch up work.

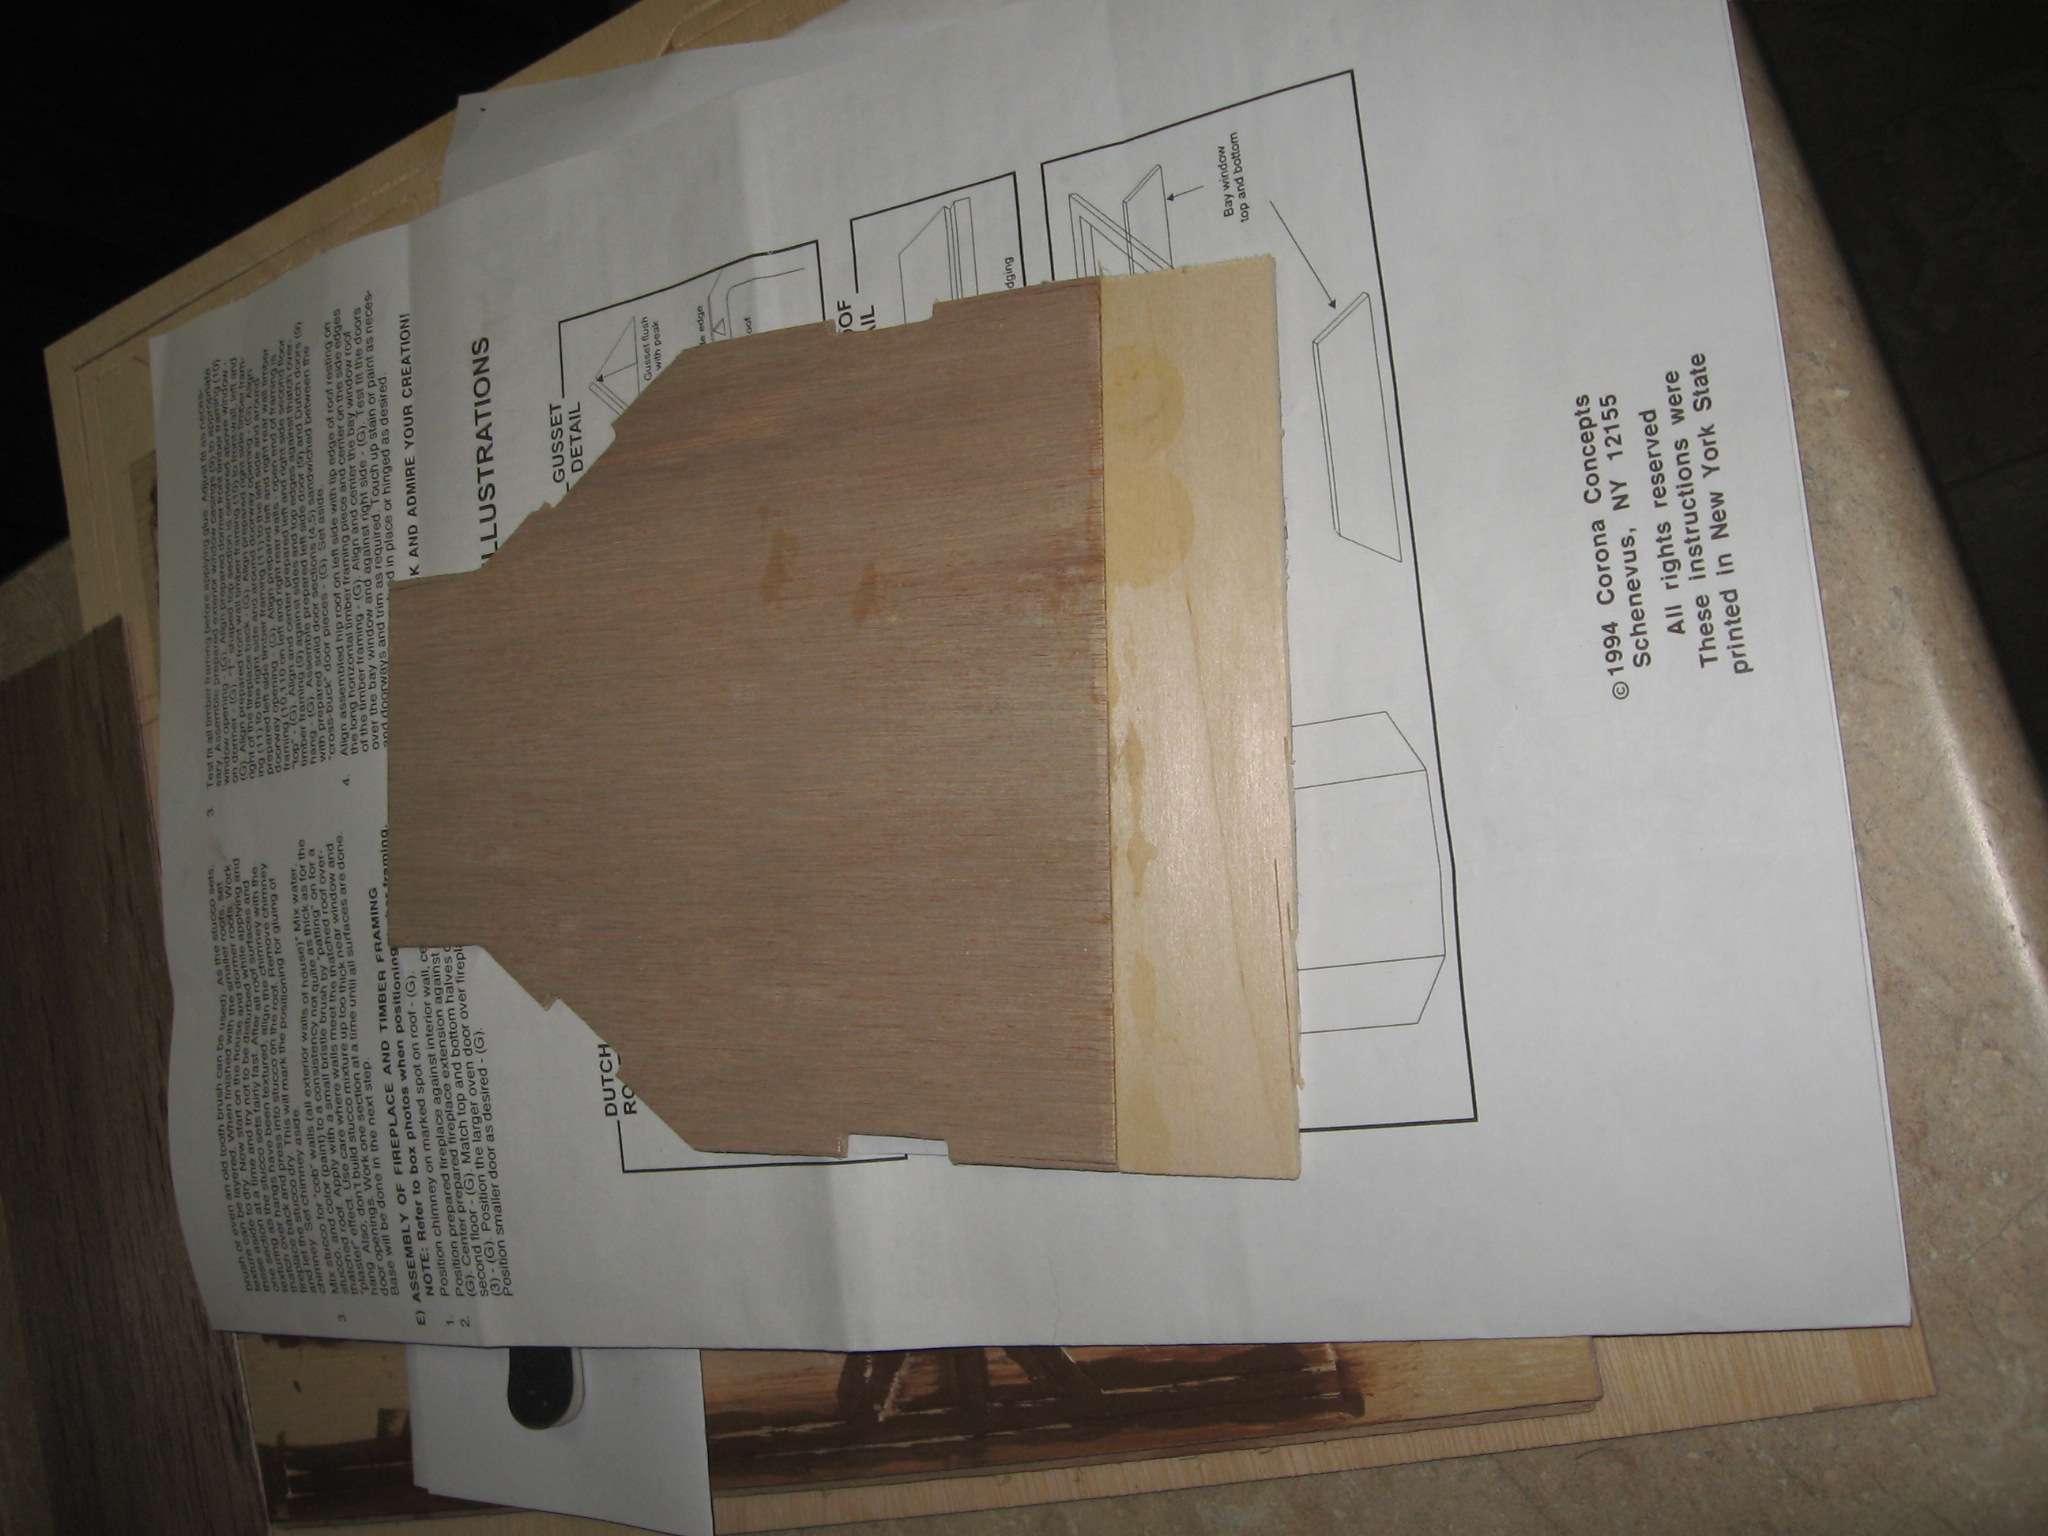
We (well, I) had decided to omit the stairs and have a complete upper floor, instead of a loft, so Tuesday night I hied me down to Michaels and got a piece of thin plywood to fill in the “hole” where the balcony would be. Got that all glued up, and I was going to cover the underneath with ceiling paper. Couldn’t find the partial roll I’m positive is around here, but I did find a piece of thin white cardboard that will work even better. It was a bit bent from having been stored, so once I had glued it to the floor, I stacked encyclopedias on it. Nooks and Kindles are nice, but they’re not much help when it come to holding things down. Or up.

glue job

I glued the floor in place last night. Since this house was designed to be open above the bay window, there were no slots in which to insert the floor, so I had to get creative. Books to support the front wall  so I didn’t mash the bay window, and then more books on top to hold the she-bang in place while the glue dried.

From here on in, it should be fairly straight forward – she said naively. The roof is already assembled, and I’ve ordered the thatching. The furniture is all on hand,  so now we have to decide how we’re going to finish off the upstairs.

Wish us luck!

Don’t Need No Stinkin’ Directions

11 Apr

My girlfriend Kay and I are putting together a dollhouse kit – a country cottage.  She bought the kit, and I am “helping” her put it together, since I have built quite a few kits in the past.   (http://www.picturetrail.com/lady_anne)

I think she is a bit nonplussed by my attitude that the directions are just there to give you a rough idea, as I have hardly done anything the way it’s supposed to be done.  (I sew the same way.)  We did get the base made according to the instructions, but then we realized the doors are only 5-1/2 inches high, and the ceiling is 6-1/2, which is simply impossible. Who do you know who can walk through a door that short?  This meant I had to bring the walls and doors back here, and use the scroll saw to cut pieces 1-1/2 inches wide to put under all of the walls, and completely remake the doors.  Since gluing edge to edge is difficult under any circumstances, never mind the plywood here is only 3/16  inch thick, we had to groove and stain 1/8 inch balsa to make wainscoting to hold the two pieces together. Then I decided I didn’t like the fireplace, and redid that without so much as a by-your-leave. inside fireplace I have NO idea why it was so important to me that the fireplace not be flat against the wall. OCD, and all that. It only sticks out a quarter of an inch, but it’s the principle of the thing.

So far, we have gotten the base and two walls up, and it actually is beginning to come together. Kay muttered something about there “being a lot more to this than she realized”. She did, however, agree completely with “raising the roof”, so to speak.  We are also considering putting in another wall on the ground floor, to create a second room. At least, when I explained it to her, she nodded. She may have simply given up all hope of regaining control of this project.

adding space

This shows how we added the extra height at the bottom. This is the outside back of the fireplace, and I had to do the same to the sides. We wrapped it all in brick paper to keep it together.

The next thing is to decide how to handle the lights.  I think we’ll need to involve The Squire that part of the project.  We shall see.